Tag Archives: Grinding

[ToS] [Nightmare-Stage] The Evil Controlling Orders Nightmare 0 Diam Clear, 3 STARS GRIND!

SM Stage: The Evil Controlling Orders (Nightmare)
Card Reward: Diablo, Manipulator of Elements + Infernal Phantom
Date: 2nd May 2014
Pre-req: Cleared Normal Diablo SM

Screenshot_2015-05-02-16-20-41

So I’m back with good stuff ^^

0 Diamond Clear, but this is pretty grindy, BEWARE!

Disclaimer: This team was introduced to me by a fellow ToS buddy Babapp (not sure if he saw this somewhere, but this is just to credit whoever came up with this team :)). I am just a beneficiary of this grind team, so don’t thank me if it works for you, I’m not the creator of this.

GRIND TIME!
GRIND TIME!

So the main idea of this team is to take any/all damage that comes towards you like a man, with the help of PR Wukong Ame4. You need that 80% reduction for most of the stages, and you also need that dodge in stage 1. By using PR Urd as leader, you can heal by dissolving Water runes! The heal is actually pretty good, and definitely more than enough for this Nightmare Stage. Pisces is here to fulfil the achievement for a 3rd Water member, and also to provide those Water runes for heal in case you run out of them. The other members are here for burst, and you should burst whenever possible (unless otherwise stated) to save time. If not this fight is gna take sooooo much time and sanity D:

Stage 1: This stage sets a minimum criteria for your team, where your total team HP needs to be higher than the damage done by all these elves. This way, you can take hits from all of them (while full HP) and not die. After your HP is in the red, you need some luck, to get more Water runes to heal or for the enemies to miss hitting you ._. In the meantime, try to kill at least the middle elf first. If all goes well, you are pretty much safe.

Stage 2: Nothing special. Kill one of them first then the other. Difficulty: 1/10.

Stage 3: These puzzle shields aren’t that annoying considering you have infinite turns to get them right and a Daji to help you out when you burst. Just stall more Dark runes before you burst and fulfil those shield conditions when you do so and you should breeze through. Difficulty: 1/10.

Stage 4: Kill Yvette then work on Magness. After bursting off Yvette, get Magness to ~60-70% HP and burst.

Stage 5: This triple freeze prevents you from slacking, so you needa dissolve those half-frozen runes each turn to ensure that you can burst. So do that.

Stage 6: One of the harder stages, if not the hardest here. You need to kill off those 2 eggs before you can even hit Isabel. To top it off, she reduces your spin time to 2s, what a biatch. And since they all attack at the same turn every 6 turns, you need to heal very frequently. Save your Pisces active for critical times and try to kill the right egg first (to maximize damage reduction effect when they attack together). When you get close to killing the 2nd egg, stall Dark runes, and definitely do not kill it off when Isabel’s CD is 1 ._. If you really need more turns to stall runes and Isabel’s CD is 1 already, use Urd to freeze her and delay the resummoning. Then, burst through!

Stage 7: Get him to 60% HP (play safe) then burst. My average bursts with this team is around 3m damage with 6 Dark runes (pls try to stall for more for safety. Fail burst = dead), with my highest hitting around 9m. So you should be able to KO him if he’s at 60%.

Stage 8: Really simple stage. Just heal when needed and burst when CD is up, no danger whatsoever. The revived Elf Queen can’t hurt you too Wukong OP. Difficulty: 1/10.

Stage 9: Another simple stage. Burst when CD is up ._. After killing her, quickly note where your Dark and Blue runes are! They will change to another color upon entering the next stage (eg. all Blue will be shown as Red etc.).

Stage 10A: So I hope you took note of what your Blue and Dark runes have been substituted by, since you need them for heal and damage. If you got them down, simply play as per normal, bursting when possible, but keep in mind to stall the correct “Dark” runes. You can use your crafts here since the HP of Diablo is pretty high.

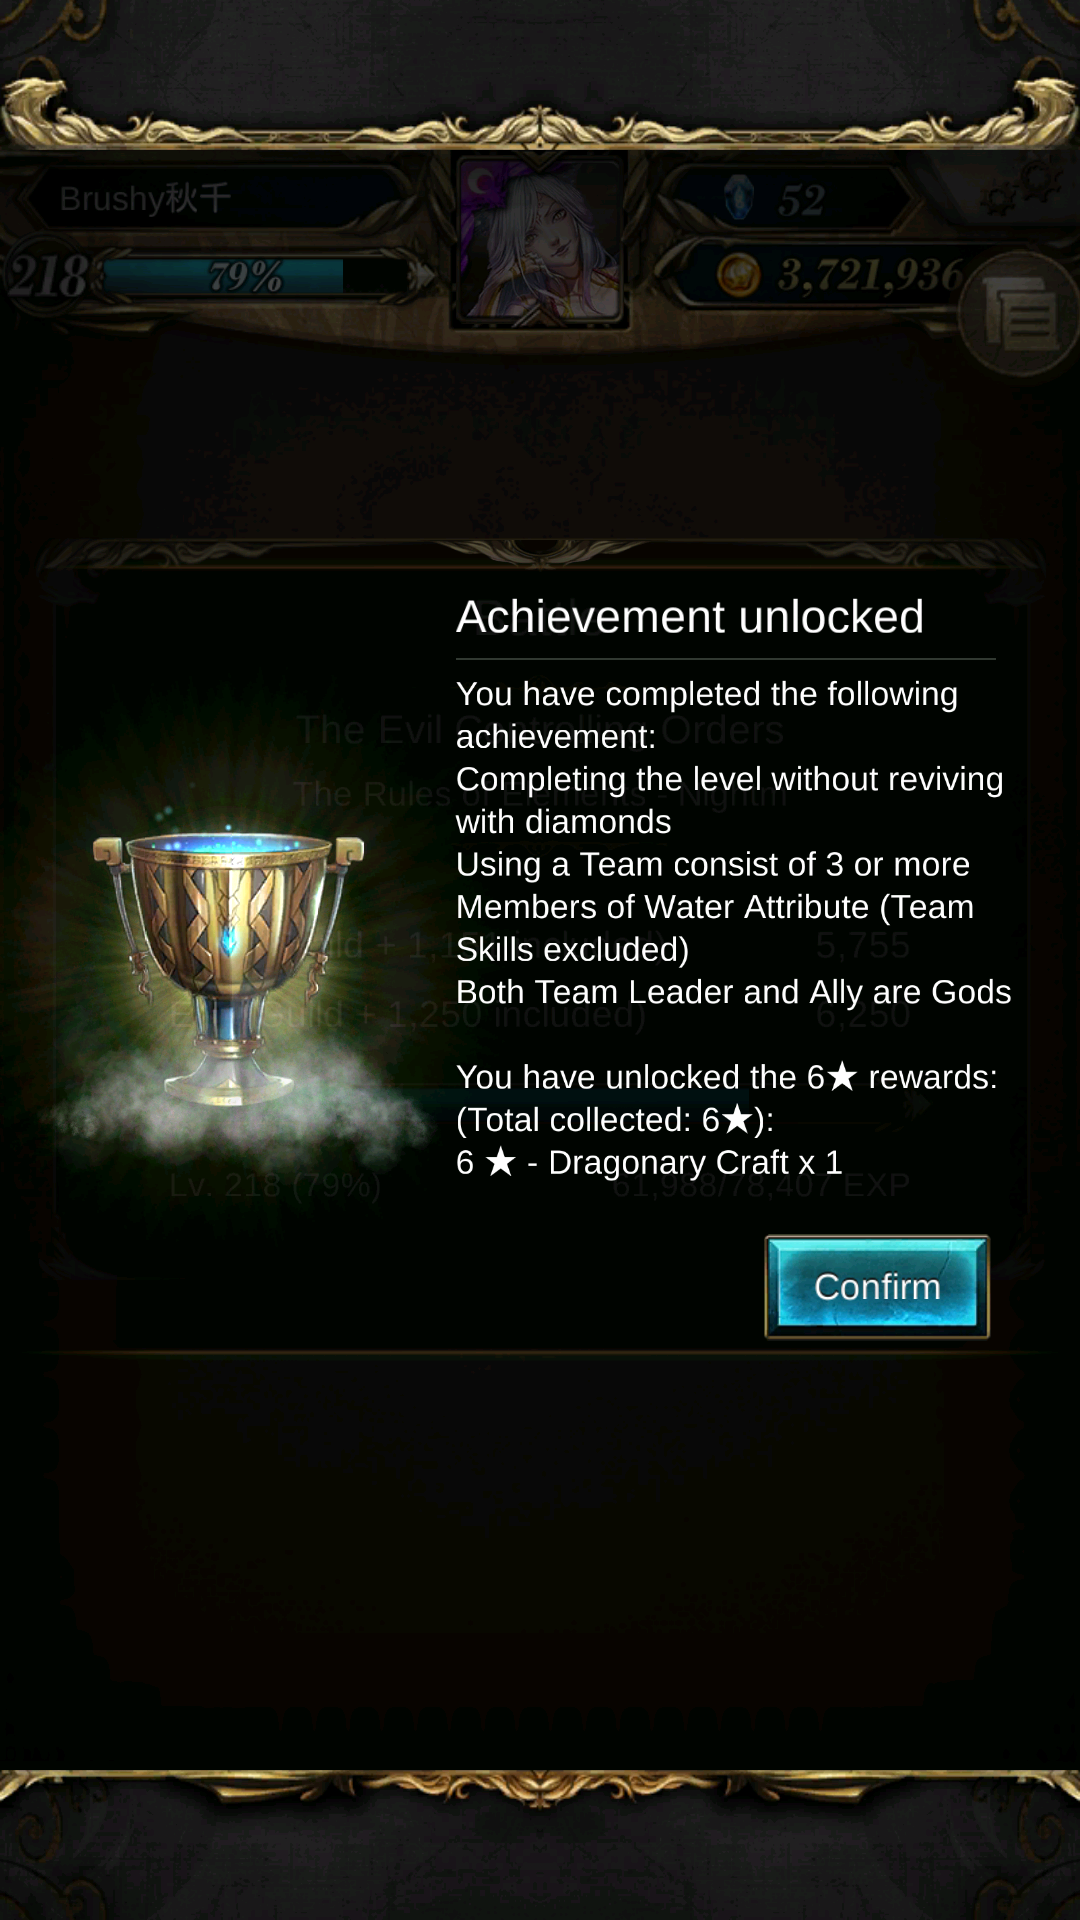
Stage 10B: Pretty simple, since your runes have returned to normal 😀 Make sure to have all 5 colors on board before bursting and to stall for more Dark. Congrats on clearing this Nightmare stage, obtaining an Infernal Phantom (you need 2 ._.), and clearing all 3 achievements in 1 go for the Nightmare part!

The grind is worth it, cos 3 stars in 1 go, and no Diamonds needed!

[ToS] [Special-Stage] Grinding Never Dies! Path of Atavism and Way to Ruthlessness Cleared :D

Special Stage: Path of Atavism | Way to Ruthlessness (Black Hole)
Card Reward: Harpy
Date: Varies
Pre-req: None | 8 Black Keys (Both can only be attempted once a day)

Sometimes, a new stage appears. Sometimes, that stage will include some particularly nasty mechanisms or boss stats that make you doubt your otherwise mega-powerful teams. Sometimes, you just keep failing with your favorite teams and the stage simply does not allow diamond revivals, Madhead does not even care about you throwing diamonds at the handphone screen. Sometimes, dire circumstances call for extreme solutions. Sometimes, we GRIND ._.

Screenshot_2014-10-18-22-07-02

Screenshot_2014-10-18-22-07-19

Screenshot_2014-10-18-22-08-10

Screenshot_2014-10-18-22-08-30

Screenshot_2014-10-18-22-08-36

Screenshot_2014-10-18-22-10-10

Screenshot_2014-10-18-22-10-33

Shown above are some of the more popular and key grinding cards. Not your usual OP cards, or ones that would make you go around telling other people “hey you know what, my favorite ToS card is Paladin Queen of Water cos she’s cool and she’s in my insane Tumbling team!”. Nevertheless, do not underestimate their usefulness. Quite often, even for players who already have a large percentage of the cards trained, tumbling still seems to be the best option for particularly difficult stages with very little room for error, or are simply impossible to clear with the limited number of burst skills in a typical team. So, we shall now take a look at 2 of the many variations of grind teams. They also represent 2 of the few kinds of grind teams in existence: Tumbler and Damage Reduction with Idun.

Grind Teams Notes:
1) Any team that makes you take less damage, or otherwise prevent you from death or prolonging your life for a substantial amount of time, thus allowing you to take out the boss by very low damage across many many turns.
2) PR Idun is not necessary in all grind teams, but is good to have when damage multiplier or additional damage reduction leaders are not required beyond the first. She adds alot of stability and might even make clearing the stage guaranteed (will not die even with no heart runes).
3) Tumbler refers to cards like PQoW, which prevents you from dying from a SINGLE HIT if your HP is above a stated %.
4) Damage reduction is self-explanatory.
5) Another very popular card would be PR Verdandi. It allows you to damage bosses through most shields (multi-element shields, enchanted shields etc) and ignores armor, while healing you for the damage dealt. Furthermore, you do not need to match runes at all to trigger the effect. Simply move a rune to the square next to it and you will start leeching. This makes PR Idun allies abit less essential since a 3 stack PR Verd leech can also heal a substantial amount per turn.


The Path of Atavism (Misery)!

Stamina required: 0, but you can only try once per day.
No. of stages: 18
Diamond Revival: NOT ALLOWED 😡

Ally: PR Daji, for the active skill burst and huge damage boost by her leader ability! Her damage is much needed so you gta bring her along.

Stages 1 to 9: No brainer. Just use your skills when needed since there’s always a soulstone stage after the more difficult stages for you to stall back your actives. Don’t underestimate the small beasts’ damages pls.

Stage 10: Aim the white duck after he attacks once. He’s easy to kill since you are mostly Dark. This stage is easy to manage since they always attack at different turns, allowing you to heal up. Do pop 1 or 2 stacks of Verdandi leech to help healing.

Stage 11: You can either pop Verd and get through right away, or simply grind. Tumbler makes you invincible at this stage so do whatever you want.

Stage 12: Soulstones ._.

Stage 13: Let the red thing hit you once and bring you to low health. Then burst the red one by using Odin, Baph and Daji actives. Try not to kill the blue one since you can use that to safely stall back your actives again. Hence, do not do a full attack when bursting.

Stage 14: This is the 1st checkpoint, pretty easy to fail here. You will meet one of the two bosses available. Both hit you for 12k a turn, but 1 can only be damaged by 25% of HP per turn, while the other will lower his own health by 25% per turn, but cannot be controlled or leeched or damaged otherwise. Basically you need to survive 3 of their hits, but for the first one you can use Verd to help with healing abit, but have to juggle healing with attacking to make sure he drops by 25% each turn, while also healing yourself back to at least 50% HP. The latter does not allow Verd active, but then you can just focus on healing. But at the end of the day, if you manage to survive it, try to enter the next stage with 1 HP.

Stage 15: You will want to burst both down asap. With 1 HP left, your Odin active will be super powerful. Do the full burst and you should get through.

Stage 16: Trojan Gold… Put a leech on him and start stalling back all your cooldowns. You can safely drain him till he gets to 50% HP, then burst through him.

Stage 17: 2nd checkpoint. If you see a Light thingy, congratz, you’re almost done with this path of misery. If you see a Dark thingy, good luck. The Light thingy hits once every 4 turns, which is just lame easy. The Dark thingy, however, is a nightmare. He converts away all heart runes every turn T.T but at least he turns them to Dark, so you can take the chance to quickly kill him before you die. Remember to use Verd to help with the healing, and use your GSoD wisely. This stage was also the primary reason why I brought my newly PR-ed Idun along (I used to bring another Baphomet instead). For me, I met the Dark thingy, and the first thing I did was let out a short, sharp “Farq” while playing at the clinic ._. But yea, Brushy survived this purple ugly, so can you.

Stage 18: Grind MAX. Just heal abit once every few turns before his next attack. The only way you are gna deal damage is by PR Verd leech, so don’t bother wasting time spinning around. Get to 3 stacks and you can just swipe your screen once every second to trigger the leech, since 3 stacks leech for 3 turns means more than 50% of your HP healed so you will never die. Real mindless grind, but easy and risk-free 😀

Once you see him, you are about done. You just need 15 minutes more to mindlessly grind him down...
Once you see him, you are about done. You just need 15 minutes more to mindlessly grind him down…
YAYYYY! End of Path of Misery.

I took a really long time (number of days) to clear this battle. I would either die to Siriuses or die to the 3 turn live or die frogs, or die to purple ugly while being caught unprepared and without an Idun. But it’s a relief to be able to clear it 1 week before it goes away!


Way to Ruthlessness (Misery #2)!

Stamina required: 0, once per day
No. of stages: 20
Black Keys Required: 8
Diamond Revival: NOT ALLOWED T.T

Ally: PR Wukong.
Ally: PR Wukong.

Stage 15: The real test only starts here, everything before this stage is pretty straightforward. If you meet Pollux, just grind him down, he’s not gna kill you. For Alma, grind till she’s left with less than 20% HP, then kill off with PKoD to negate that bomb damage.

Stage 16: PR Verd ftw. Use that as your main source of damage, and use PR Endor whenever she’s up to help with the combos.

Stage 17: Trojan… PR Verd leech is much needed again, so leech till he’s low enough for you to kill with a John active + PKoD 20% removal. You have to calculate how much you have to leech depending on the level of your John 🙂 Just remember to activate Wukong’s active before you shoot.

Stage 18: Due to Wukong’s active, this stage should be a breeze too. Throw all the damage you have at them and proceed.

Stage 19: Grind.

Stage 20: MEGA GRIND. It’s good to have Wukong and Idun, and they finally have the chance to be the highest damage dealers in a team! Use Endor whenever up to deal abit more damage, focusing on dissolving Light runes. For the other turns, just store Light runes and save time. Alternatively, do it the Atavism way and just leech him to death D:

....
….

It’s sad I don’t have a Lubu, since that will probably save 1 hour of my precious time. Oh well.. All the best clearing these “Nightmare” battles! Btw, no vids cos they take more than an hour each ._.